USB-PD Miniware TS100

Posted on 2019-08-20 in makes

The Miniware TS-100 is a cute little portable soldering iron. It can be powered off any 2.1mm jack 12-24v power brick, and I've had one since 2016 as i can keep it in my bag and have the ability to solder wherever i am.

I used to power it off a dedicated 12v wall wart, then i found a neat little lenovo 'square' to 2.1mm adaptor plug on aliexpress so i could use the laptop power brick i was already carrying with me, but since upgrading my laptop and going full usb-c i've not really been carrying anything thats been able to power the iron.

Miniware have since released the TS-80, which is a USB-C version of the TS-100. Great! The only problem is its designed for phone chargers, and so speaks QC 3.0. Given my phone and laptop both use the 'standard' USB-PD protocol (the same one used by all laptops, ipad pros, chromebooks etc), so i'd still have to carry another power brick around with me!

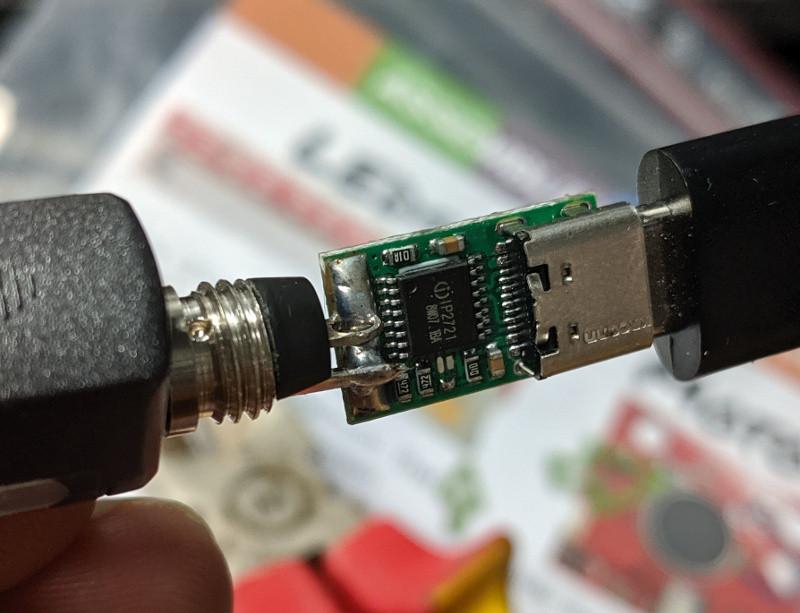
That was, until i found the ZYPDS USB-C "Power Trigger" - this is a tiny board that takes USB-C in one side, and does the protocol negotiation to ask for 15V or 20V out the other side, perfect!

So. ZYPDS board + 2.1mm jack.

Remove the outside of the jack, and snip the 'shield' pin so that its about the same length as the center pin. The TS-100 (and pretty much everything else that uses a 2.1mm jack) is center-positive, so solder the center pin to the + pad on the ZYPDS module, and the shield to the - pin.

Barrel Jack Soldered Thing

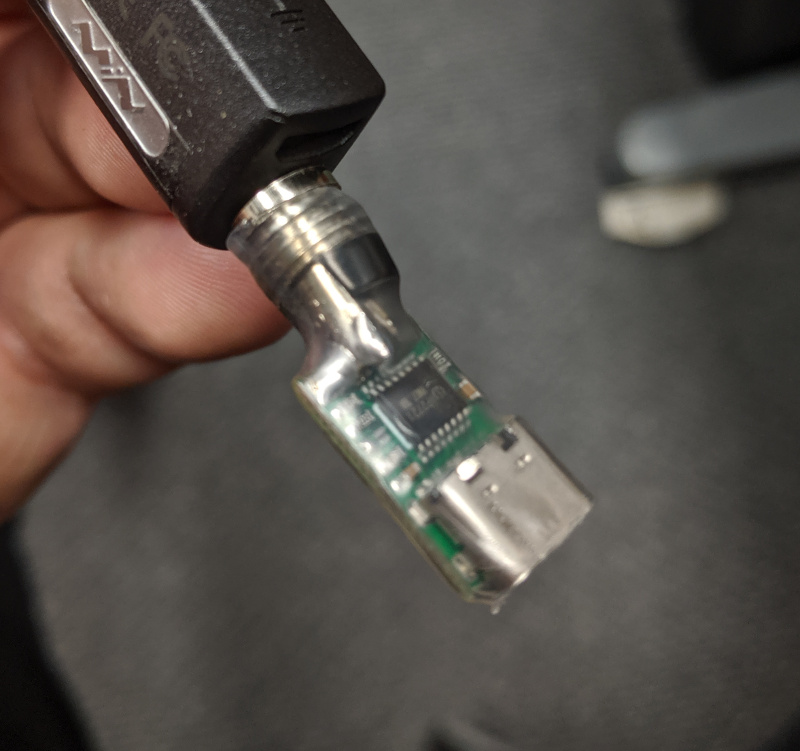
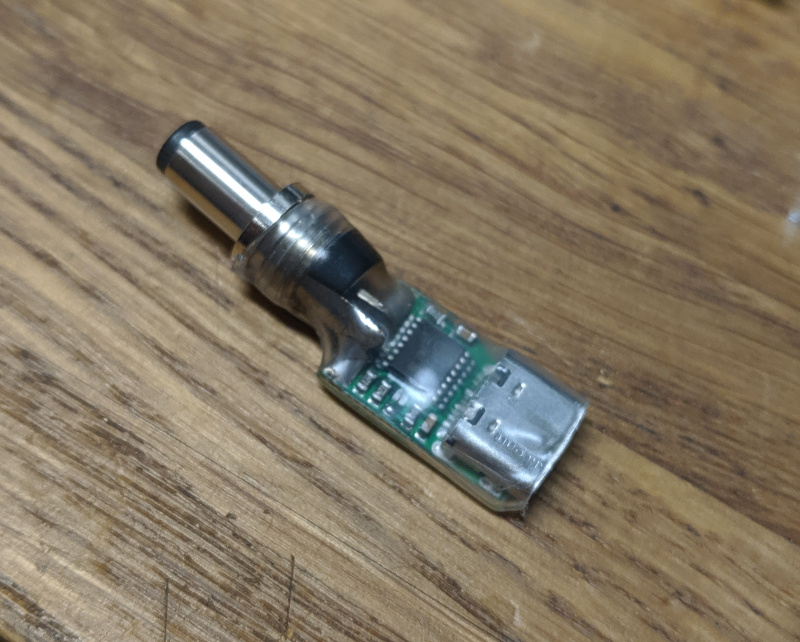
Add a bit of heatshrink, and you're sorted! Soldering on the move!

Heatshrunk Thing Final Thing

This probably wont last particularly long, as its basically using the solder as a mechanical joint. If it fails i'll likely make another one by connecting the module to a short piece of flex, similar to my old lenovo to 2.1mm adaptor, but until then i'm happy with it :)


Modifying a Xiaomi Zigbee Button

Posted on 2019-02-05 in makes

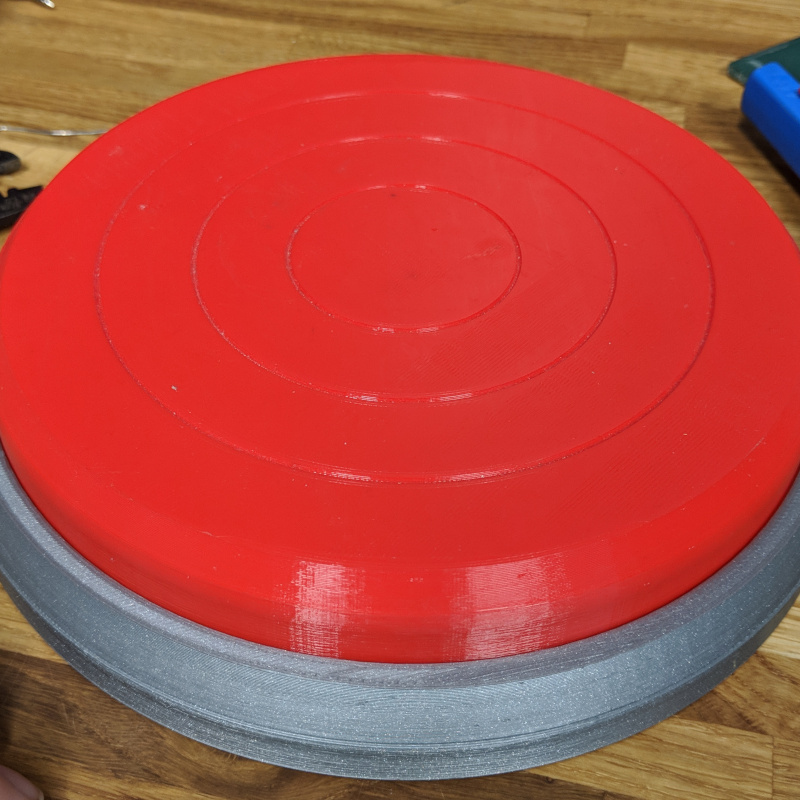
In late 2017, i was fiddling around trying to teach myself fusion 360, and accidentally found myself designing a giant red button. I didn't really have a use for it at the time, so i added a microswitch, printed it out, and had a random giant button sat around in my office, mostly getting in the way.

The Button

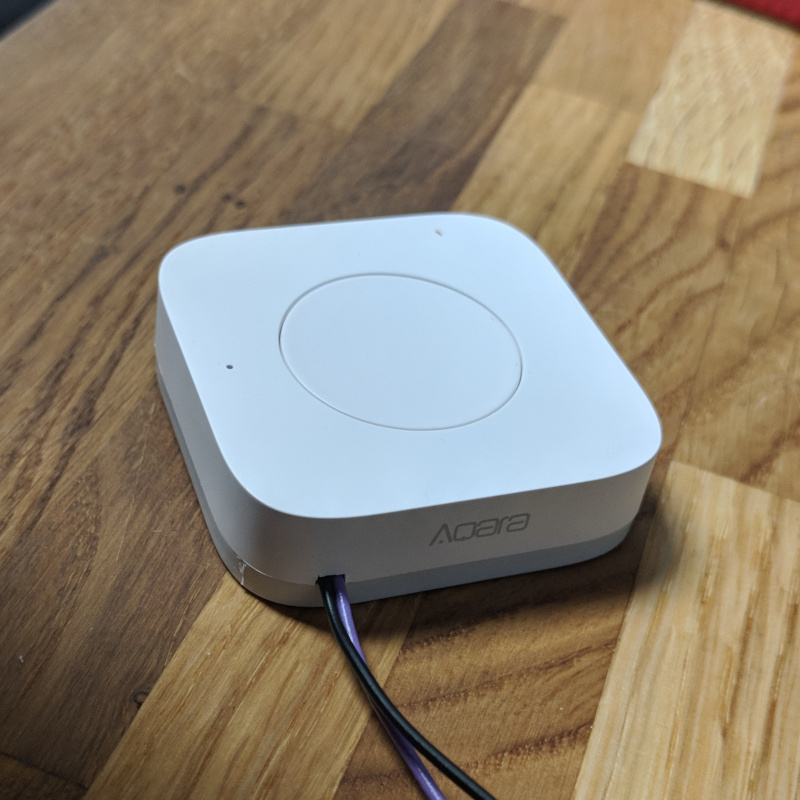
Fast forward a bit, and i've implemented a home automation system with a zigbee network, and a £5 Xiaomi Aqara Zigbee button. This button is around 5cm x 5cm, battery powered, and as far as I can tell lasts for infinity time from a single coin cell. I can't help but think though... what if it was giant instead?

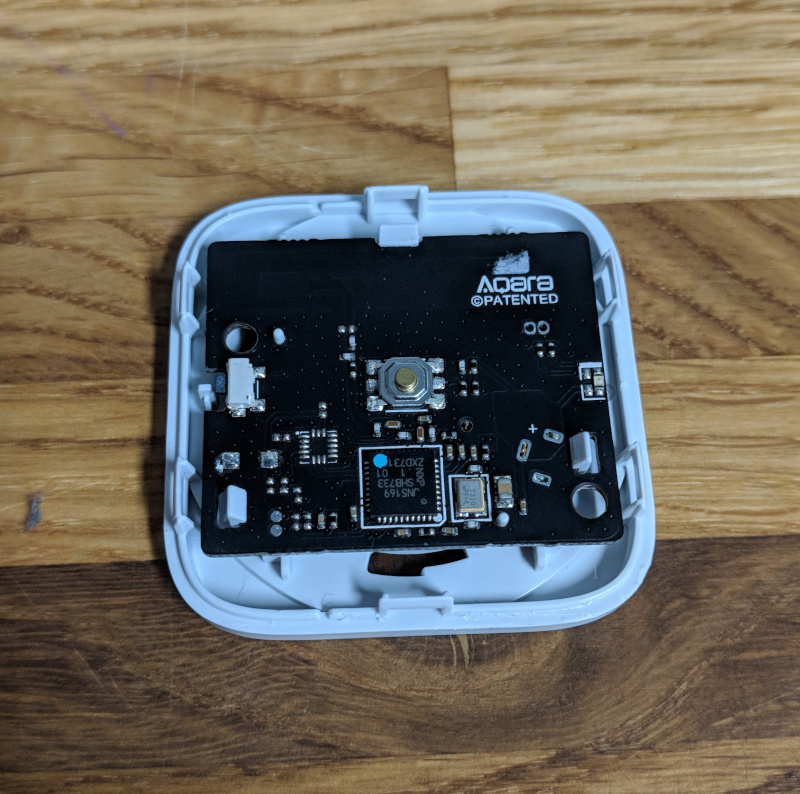
Inside

Step one was of course to open up my nice new button. Quick attack of the spudger had the case popped open and ready for a bit of probing. Now, if i was designing this board, i'd probably duplicate the button out to a test pad or pin header somewhere. Luckily the engineers at xiaomi appear to agree with me, and the header in the top right is connected directly across the input switch, score!

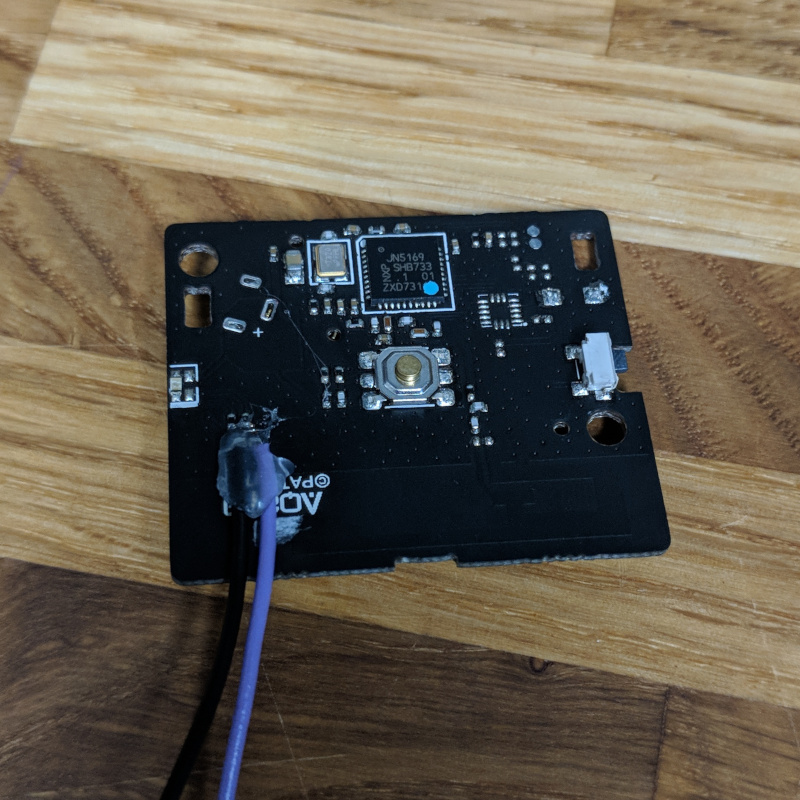
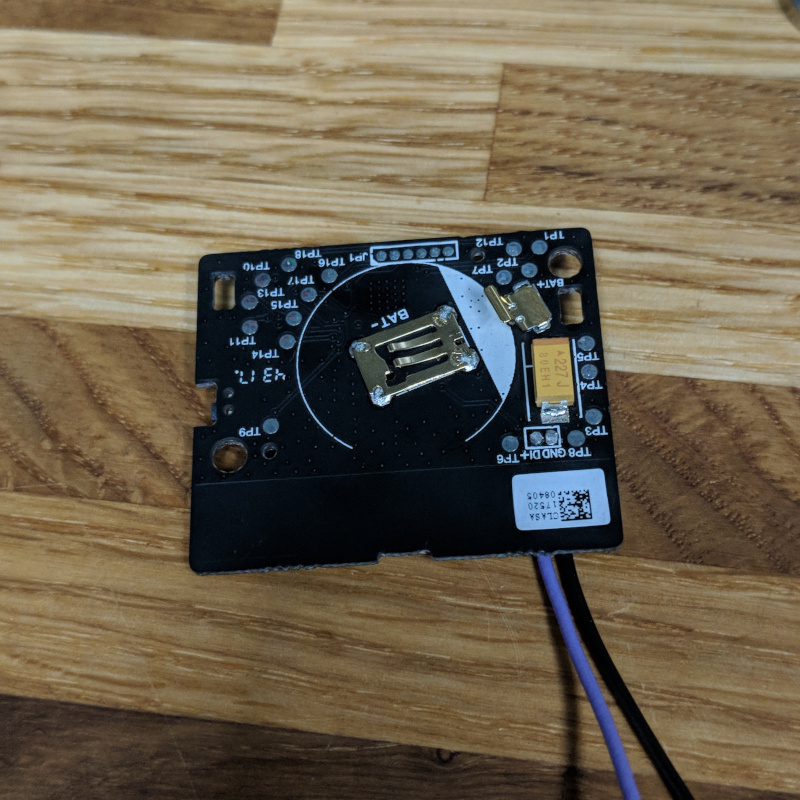
Wires to the front of the board Wires to the back of the board

I soldered a couple of wires to the board, and added some hotglue to provide a minimum of strain relief. As an aside, look at all those lovely labelled test points on the back of the board, this could make a fairly nice development board for the NXP zigbee microcontroller.

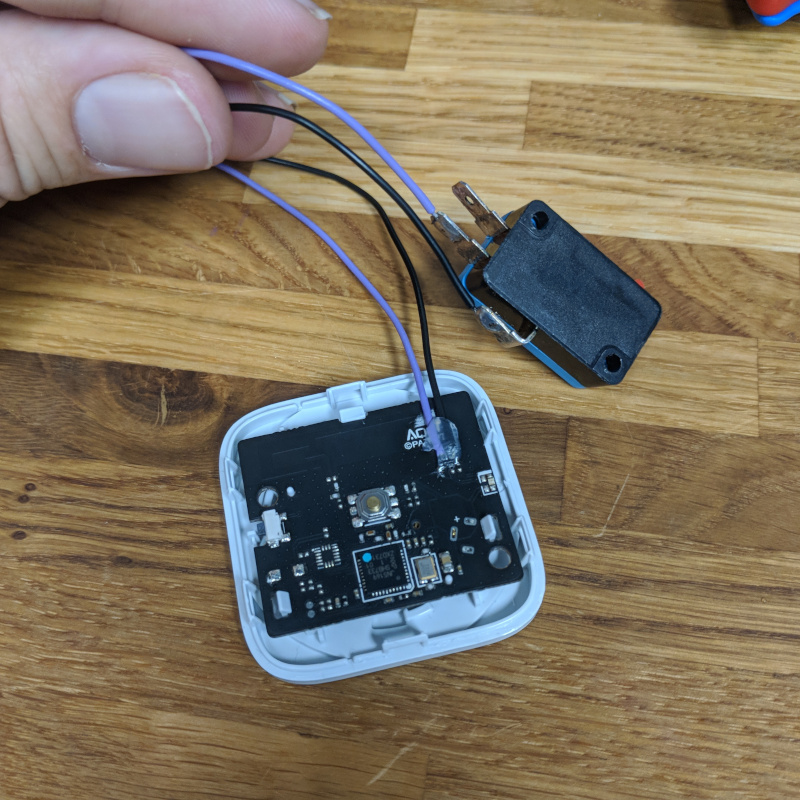
Wires to the microswitch

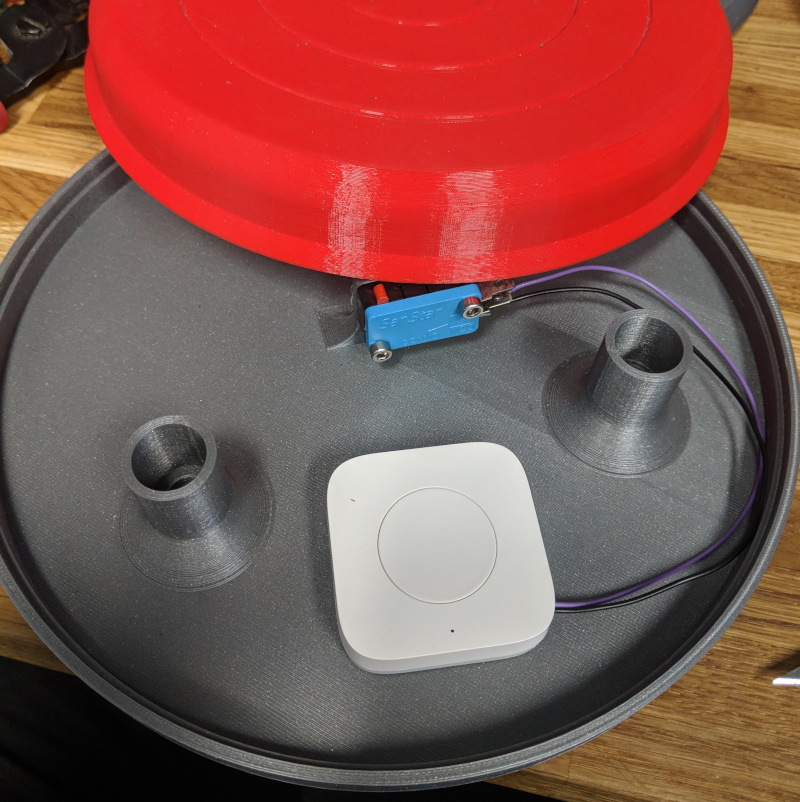
I wired in a microswitch to the other end of my cables, and pressing the microswitch triggers the button, yay!

Reassembled

A small amount of poking with a scalpel let me remove enough plastic from the corner of the case to feed the wire through and assemble the Aqara button.

Fitted into button

Assemble into the button, and a little bit of hacking to make an automation in homeassistant, and we have a light switch for the 3d printer light!


Deploying a Raspberry Pi Chromium Kiosk using Ansible

Posted on 2019-02-05 in sysadmin

Years ago, at a previous job, i was asked to put up a monitoring display showing details from our service desk. I was given a TV and a Raspberry Pi, and told to go at it.

I hacked around a bit, eventually had something that sort of worked, noted down how i'd done it, and moved on. When a friend asked me for more details i passed on my notes, and after a couple of years of poking around between a few of us, we have a pretty good idea how to implement this. Tas has documented it in great detail on her blog here and here.

So, at work i've set up a new monitoring system for our servers and services.
And i've found a nice dashboard that hooks into it and gives a ten-foot view.
And i have a spare raspberry pi and projector. Hmm.

I decided this time though, i'd do it properly. I've faffed about running through those instructions too many times in the past few years, and i'm now pretty handy with ansible for automation. Seems logical to implement it using that right?

So to start with, we have a raspberry pi running raspbian lite. We don't need all the full everything installed on it, just the few bits we want to display a browser full screen. We need to specify the user we plan on running as, and the url to display. I do this in host_vars/kiosk.example.com

1
2
3
kiosk:
  url: http://example.com/monitoring-dashboard
  user: pi

Then we have a role set up to actually do the thing. This is the playbook itself, at roles/chromium-kiosk/tasks/main.yml:

 1
 2
 3
 4
 5
 6
 7
 8
 9
10
11
12
13
14
15
16
17
18
19
20
21
22
23
24
25
26
27
28
29
30
31
32
33
34
35
36
37
38
39
40
41
42
43
44
45
46
47
48
49
50
51
- name: Install X etc
  apt:
    name: "{{item}}"
    state: present
    install_recommends: no
  with_items:
    - xserver-xorg
    - xinit
    - xserver-xorg-video-fbdev
    - lightdm
    - chromium-browser
    - unclutter

- name: Enable auto-login to x for user
  lineinfile:
    regexp: "{{item.r}}"
    line: "{{item.l}}"
    path: /etc/lightdm/lightdm.conf
  with_items:
    - {'r': "^#?autologin-user=", 'l':"autologin-user={{kiosk.user}}"}
    - {'r': "^#?autologin-user-timeout=", 'l':"autologin-user-timeout=0"}
  notify: restart lightdm

- name: Set up xsession for user
  template:
    src: xsession.j2
    dest: "/home/{{kiosk.user}}/.xsession"
  notify: restart lightdm

- name: Make sure user has passwordless sudo for running fbset command
  copy:
    content: "{{kiosk.user}} ALL=(ALL:ALL) NOPASSWD: /bin/fbset\n"
    dest: "/etc/sudoers.d/kiosk-user"
    owner: root
    group: root
    mode: 0444
  notify: restart lightdm

- stat:
    path: /boot/config.txt
  register: pi_config

- name: disable overscan if we're on a pi
  lineinfile:
    regexp: "{{item.r}}"
    line: "{{item.l}}"
    path: /etc/lightdm/lightdm.conf
  with_items:
    - {'r': "^#?disable_overscan=", 'l':"disable_overscan=1"}
  notify: restart lightdm
  when: pi_config.stat.exists

We then have a handler to restart lightdm when we change any settings. This will cause the kiosk display to restart. It sits at roles/chromium-kiosk/handlers/main.yml

1
2
3
4
- name: restart lightdm
  service:
    name: lightdm
    state: restarted

And finally, the template for the xsession, this has a few modifications, it will automatically detect your screen size, and checks that it can see a http 200 code from the specified URL before starting the browser. It lives at roles/chromium-kiosk/templates/xsession.j2

 1
 2
 3
 4
 5
 6
 7
 8
 9
10
11
12
13
14
15
16
17
18
19
20
21
22
# Set this to your URL - it must return a 200 OK when called, not a redirect.
export URL={{kiosk.url}}

# Dont want screensavers or screen blanking
xset s off &
xset -dpms &
xset s noblank &

# Hide the mouse cursor
unclutter -idle 10 -noevents &

# Sit and wait until you can hit the URL you'll be showing in the kiosk
while ! curl -s -o /dev/null -w "%{http_code}" ${URL} | grep -q "200"; do
  sleep 1
done

# get screen resolution
WIDTH=`sudo fbset -s | grep "geometry" | cut -d " " -f6`
HEIGHT=`sudo fbset -s | grep "geometry" | cut -d " " -f7`

# Open chrome in incognito mode + kiosk mode
/usr/bin/chromium-browser --window-size=${WIDTH},${HEIGHT} --window-position=0,0 --hide-scrollbars --incognito --kiosk ${URL}

Connecting to Sky Broadband from Debian

Posted on 2018-08-06 in sysadmin

Due to price, I've just changed my broadband supplier from Zen to NowTV.
While I love the service Zen have provided me over the years, i'm trying to save for a big project, so i'm cost-cutting across the board.

So I paid for the transfer, got everything sorted on that front, then had a look at how I could get the pppoe credentials for NowTV. Turns out Sky (Who run the NowTV broadband service) don't actually use PPPoE like every other Fibre provider, and have their own authentication system. Bugger.

Reading through the information around the web, you have to send a DHCP Option 61 with the credentials for your connection, and will be sent an IP address in response. Seems easy enough, once you can get the credentials.

Most of the information I could find points towards generating a username / password pair based on the mac address of your router, or extracting the credentials from an existing router. I also noticed some posts from 2016 saying this was no longer necessary, and you could send any credentials as long as they are in the correct format. Hmm. Lets try that.

DHCP Option 61 is a fancy name for the Client ID. This can be set manually in most quality routers. Personally, I have a Debian box that takes care of my home network firewall, so I added the following to /etc/dhcp/dhclient.conf:

1
send dhcp-client-identifier "hellothere@skydsl|thisshouldbeapassword";

rebooted the box, changed my iptables rules to use eth0 instead of the old ppp0 connection and it just... worked \o/


iptables for libvirt

Posted on 2018-02-14 in sysadmin

iptables for forwarding entire ip addresses to an internal IP

This is one way of achieving forwarding a whole IP to an internal IP. Personally i now use macvtap interfaces on the host, so the VM sits directly at layer 2 and the host doesn't have to worry about it, however sometimes you will want be able to block specific ports from ingress / egress on your vm and this solution helps.

1
2
3
4
5
6
7
8
# VM is allowed to receive packets
sudo iptables -I FORWARD -o virbr0 -d {internal_ip} -j ACCEPT

# All packets arriving at {external_ip} need to go to {internal_ip}
sudo iptables -t nat -I PREROUTING -p tcp -d {external_ip} -j DNAT --to {internal_ip}

# All packets leaving {internal_ip} should go from {external_ip}
sudo iptables -t nat -I POSTROUTING -s {internal_ip} -j SNAT --to-source {external_ip}

Iptables for forwarding a single port

If you only want to open pinholes from the internet to your libvirt VMs, you'll want to add a specific rule for each port.

1
2
3
4
5
# Allow the server to receive packets aimed at the port we're forwarding
iptables -I FORWARD -m state --state NEW,RELATED,ESTABLISHED -p tcp --dport {port_number} -d {internal_ip} -j ACCEPT

# Forward packets arriving on the port on the host to the port on the internal ip
iptables -t nat -I PREROUTING -p tcp --dport {port_number} -j DNAT --to-destination {internal_ip}:{port_number}

Note that this will forward packets arriving on any interface where there isn't already a rule in place! If you only want to forward packets from a specific external IP, change the second line to:

1
iptables -t nat -I PREROUTING -p tcp -d {external_ip} --dport {port_number} -j DNAT --to-destination {internal_ip}:{port_number}

Making iptables persist across reboots

To make iptables persist across reboots, i sugges using debian's iptables-persistent package.

1
2
sudo apt-get install iptables-persistent
sudo service netfilter-persistent save