Beginners Guide to Badge Hacking

Posted on 2016-08-05 in emf

We're going to create an LED torch for seeing our way around the camp.

Soldering the LED

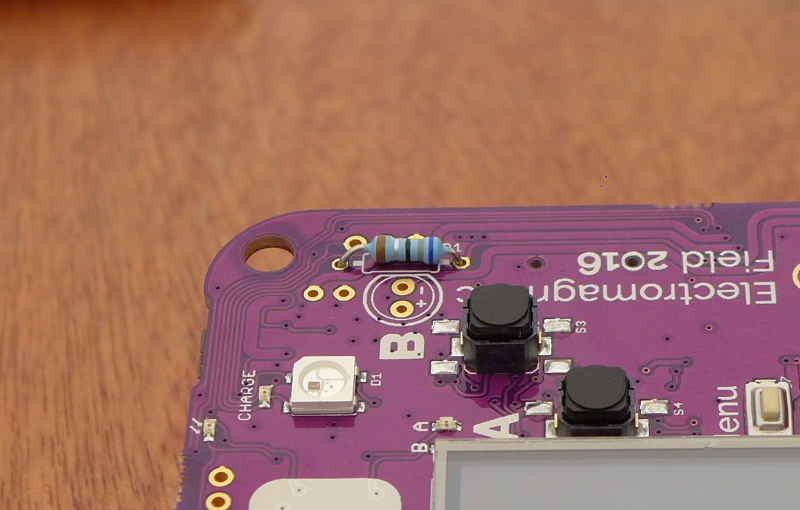
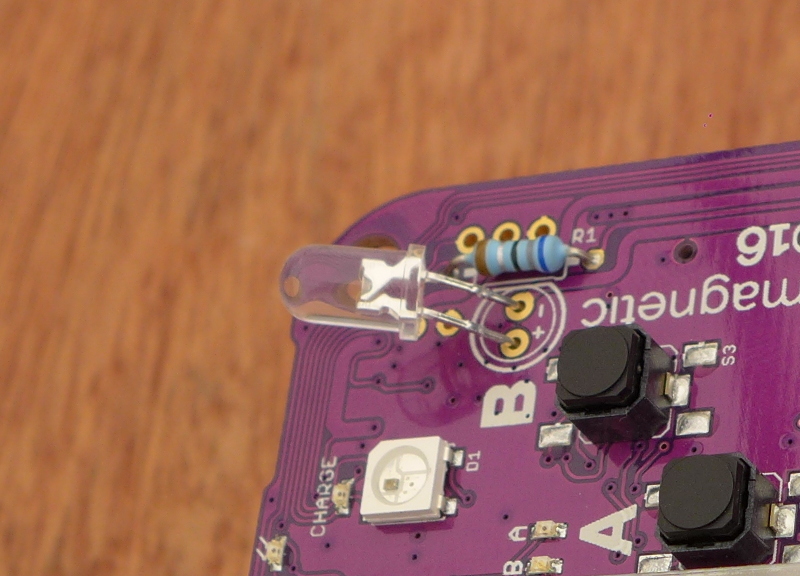
You should have received an LED and a resistor with your badge. First, grab the resistor. Bend the legs over so they fit in the holes in the board, using the resistor lead bender.

Leg Bender

It doesn't matter way round the resistor goes.

Resistor Fitted

Flip over your board and solder the resistor in place, then trim down the legs to be flush against the board.

Next, the LED. It does matter which way round the LED goes - look for a flat side on the LED and match it up with the flat side on the board. Pull your LED out about a centimetre and bend it over a bit.

LED Fitted

Flip the board over and solder the LED into place.

Testing

Plug your badge into your laptop, and use the information on https://micropython.org/doc/tut-repl to connect to the usb-serial port. If you hit Ctrl-C, you drop out of the badge software, and get a REPL prompt. You can tell this is working because you'll see three > symbols.

Type the following at the prompt. This should turn your LED on!

1
2
3
>>> import pyb
>>> pin = pyb.Pin("LED_TORCH")
>>> pin.high()

Of course, thats a bit of a pain to do every time we want the LED on, so let's make an app!

The App

Your badge should have shown up as a USB drive. Open the folder apps, and create a folder within it called torch.

Create a file within this called main.py. This is your app's main file. Open it in a text editor.

First, we need to tell the badge some details about your app. This is done in a header section at the top of the file

1
2
3
4
5
6
### Author: Your Name
### Description: Torch
### Category: Flashy
### License: MIT
### Appname : Torch
### Built-in: no

You could save and run your app now, but it won't actually do anything yet. Lets add the code:

 1
 2
 3
 4
 5
 6
 7
 8
 9
10
11
12
### Author: Your Name
### Description: Torch
### Category: Flashy
### License: MIT
### Appname : Torch
### Built-in: no

import pyb
pin = pyb.Pin("LED_TORCH")
pin.high()
while True:
  pass

Save, and run your app. When you run it the LED should turn on, brill!

Of course, we're not showing anything on the screen. Lets have a nice dialog box to show we're in the torch instead of that while loop.

 1
 2
 3
 4
 5
 6
 7
 8
 9
10
11
12
13
### Author: Your Name
### Description: Torch
### Category: Flashy
### License: MIT
### Appname : Torch
### Built-in: no

import ugfx, pyb, dialogs
pin = pyb.Pin("LED_TORCH")
pin.high()
ugfx.init()
ugfx.clear(ugfx.html_color(0x7c1143))
dialogs.notice("Shine a light!", title="Torch", close_text="Exit")

Run your app again and you should have a nice button you can press to shine a light in the camp!

You can unplug the badge from your computer when the LED has finished flashing, but we recommend you eject the drive first.
TiLDA for Wearable Electronics

Posted on 2016-08-03 in emf

Did you know that as well as being an awesome internet-connected, python-powered portal to nirvana (OK, one of those may be a lie), your badge is also a rad wearables controller?

At badge HQ, we love flashy LEDs, and we love sewing them to ourselves for no apparent reason. That's why each badge has support for attaching and driving a string of Neopixel / WS2812 LEDs up to X LEDs long.

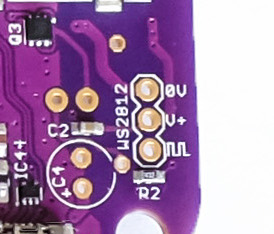
If you already have some neopixels, you'll need to add a three-pin connector to the end of the string for connecting to the badge. The pinout is a servo-style pinout, with the +v in the center, which makes it more difficult to explode things if you plug it in backwards!

Neopixel Header

I would suggest using a right-angled connector, and having your wire go off the side of the badge. That way it isn't sticking out or stabbing you in the chest.

NOTICE: Unfortunately, the badges we've made for the event have the onboard neopixel fitted backwards (oops!), so unless you want to have a go at rotating it (we can help with that at the Badge Tent), you cant use the onboard header. Luckily, CH2 on the Servos connector block is also able to be used for neopixels, so you can solder the connector there instead.

The central V+ pin is at battery voltage when running from battery, so varies between 4.2 and 3.6 volts depending on how flat your battery is. We've tested this with a string of 5V neopixels, and it is enough to power them up fine. However, if you are worried about your battery running out too fast, or want to drive more neopixels than the badge can handle, you can plug a USB battery pack into the badge, and the LED strip will be provided with a full 5V.

The App

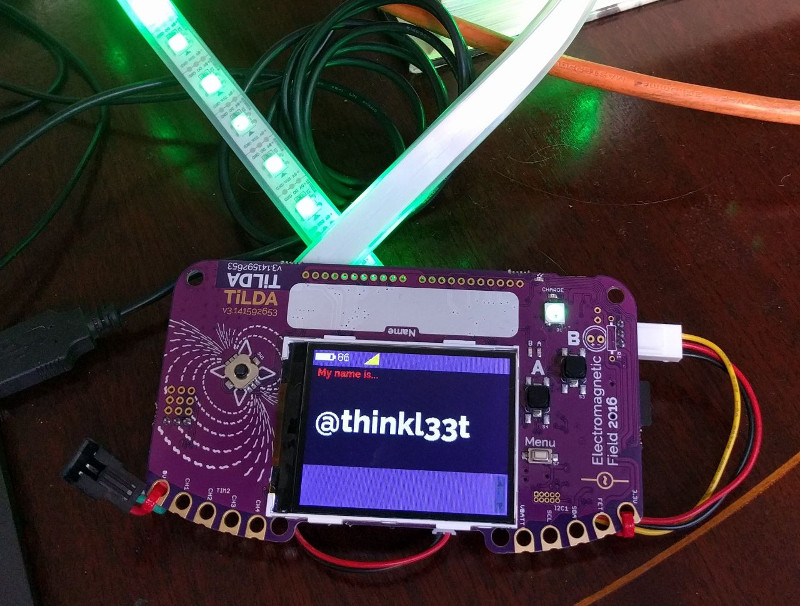
OK, so thats the hardware, now for the software. Step one is to load up the Wearables from the App Library. As soon as you reboot, the neopixel on your badge (or the first on your strip) should start cycling through the colour wheel.

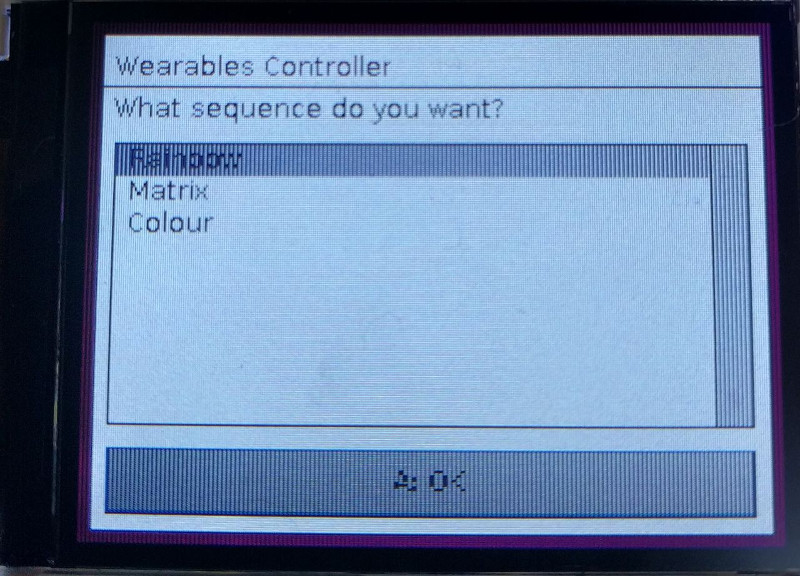
What we need to do is tell the app what sequence to run, and how many LEDs you have connected to your badge. Lets try the rainbow:

Rainbow

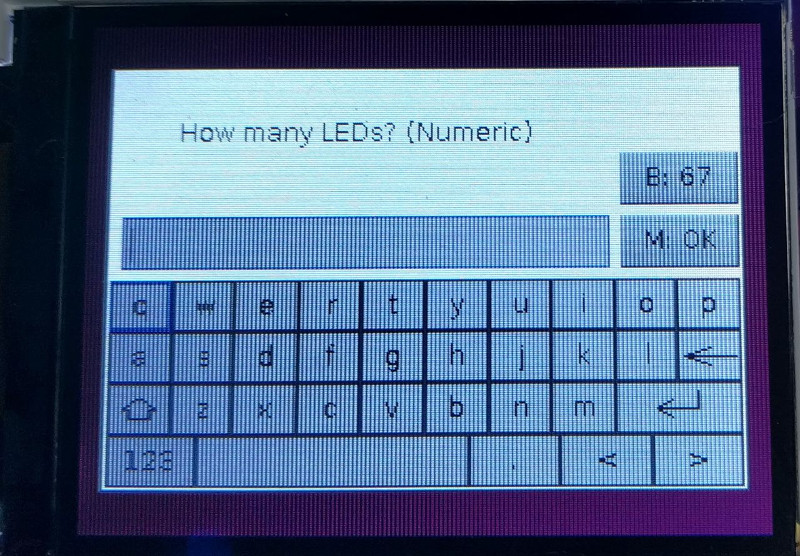
Number of LEDs

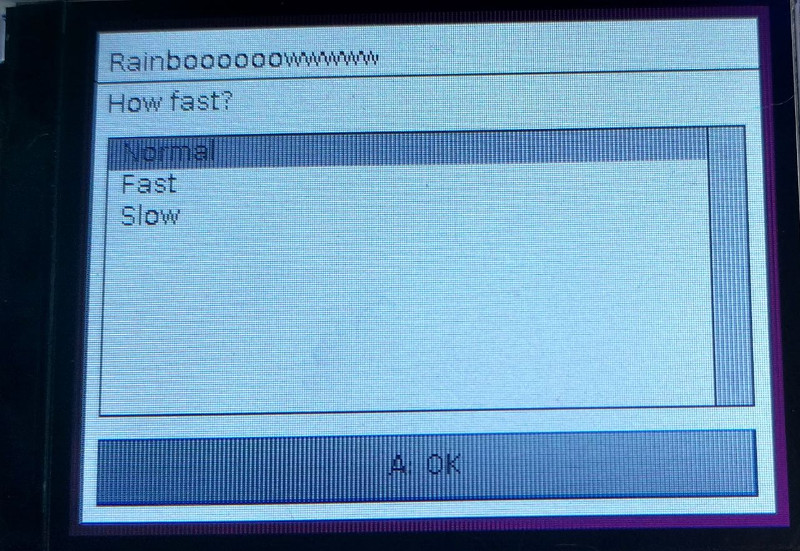
Speed

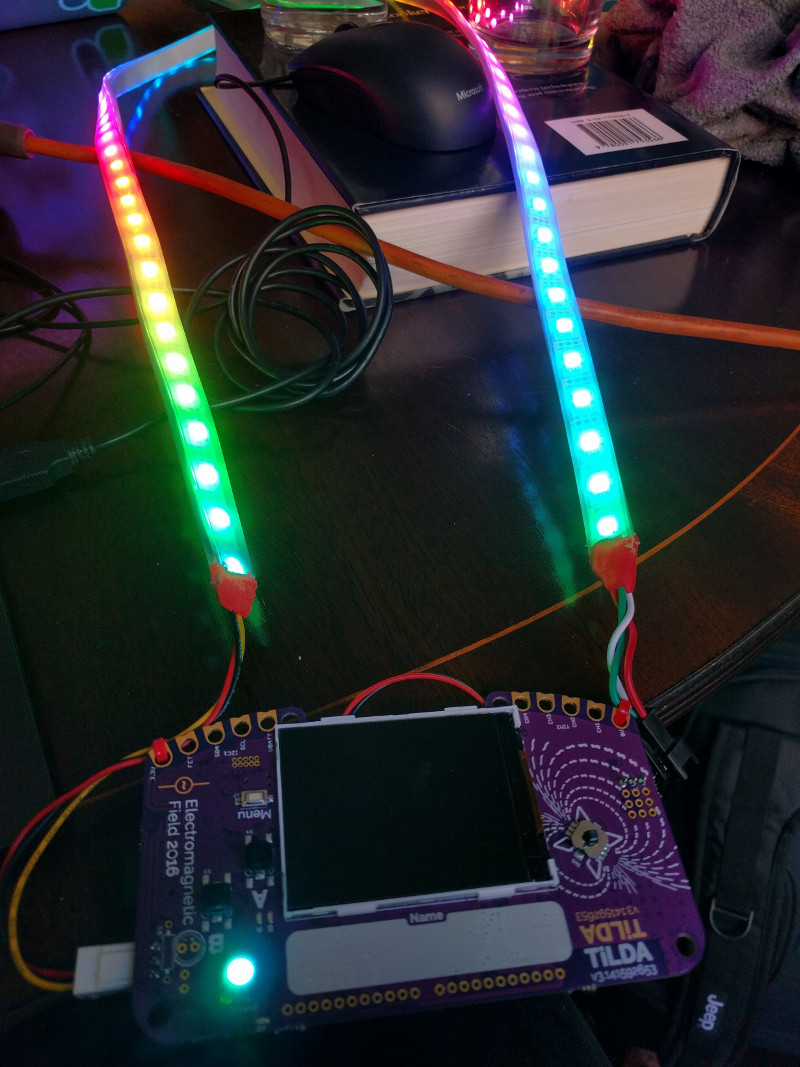
Pretty Rainbow

Rad.

Note that once you've set up the number of LEDs connected, you can just press B to skip that screen in the future, it'll keep the setting.

Matrix next. This doesnt need anything extra configuring, and shows a green flickery pattern like on the film (which i'm informed is now 17 years old, what?!):

There is no spoon

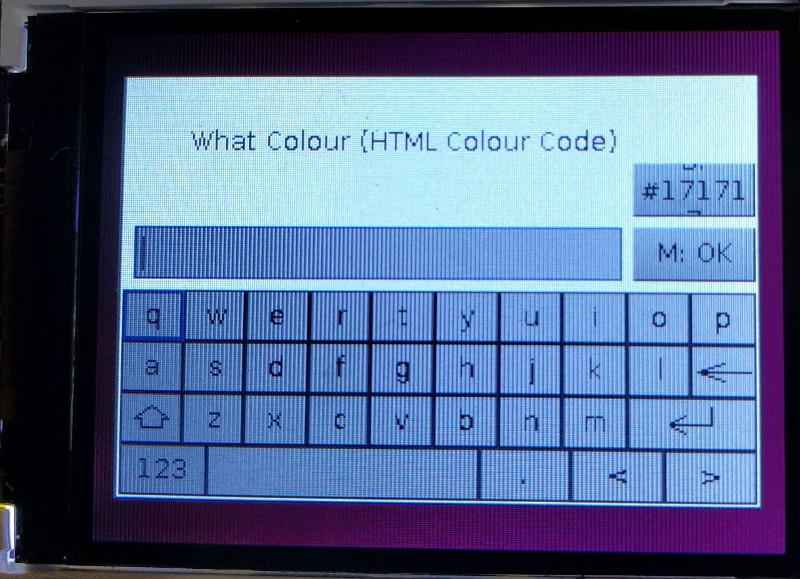
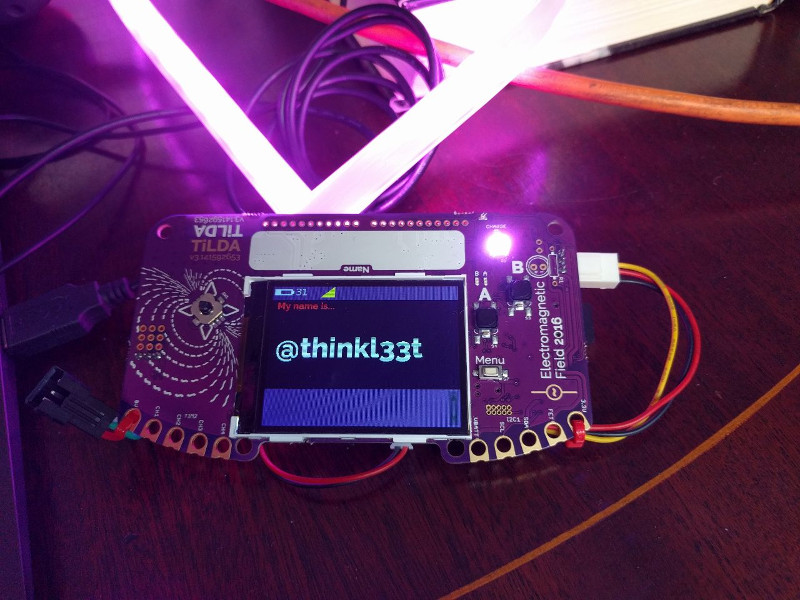
And lastly, Colour displays a single colour so you can make everything pink! You need to enter a HTML colour code, this is ff00ff:

HTML Colour Code

Pink!

If you want to add any extra sequences, code for the wearables app is available at https://github.com/thinkl33t/TiLDA-Wearables . Just dump it on your badge at apps/wearables/ I'll accept pull requests if you add any extra sequences, so get making!