Modifying a Xiaomi Zigbee Button
Posted on 2019-02-05 in makes
In late 2017, i was fiddling around trying to teach myself fusion 360, and accidentally found myself designing a giant red button. I didn't really have a use for it at the time, so i added a microswitch, printed it out, and had a random giant button sat around in my office, mostly getting in the way.

Fast forward a bit, and i've implemented a home automation system with a zigbee network, and a £5 Xiaomi Aqara Zigbee button. This button is around 5cm x 5cm, battery powered, and as far as I can tell lasts for infinity time from a single coin cell. I can't help but think though... what if it was giant instead?
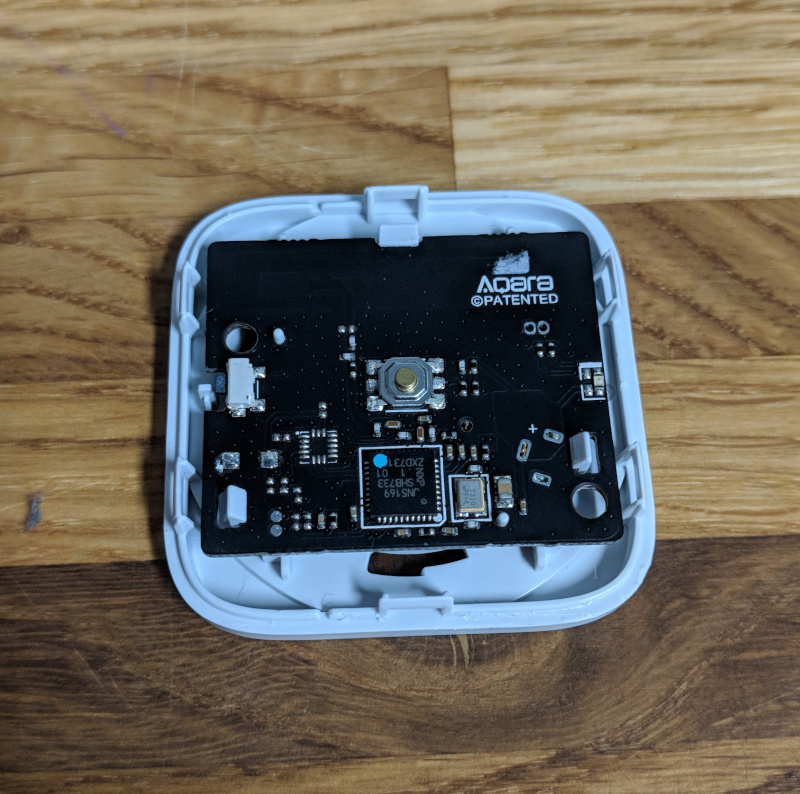
Step one was of course to open up my nice new button. Quick attack of the spudger had the case popped open and ready for a bit of probing. Now, if i was designing this board, i'd probably duplicate the button out to a test pad or pin header somewhere. Luckily the engineers at xiaomi appear to agree with me, and the header in the top right is connected directly across the input switch, score!
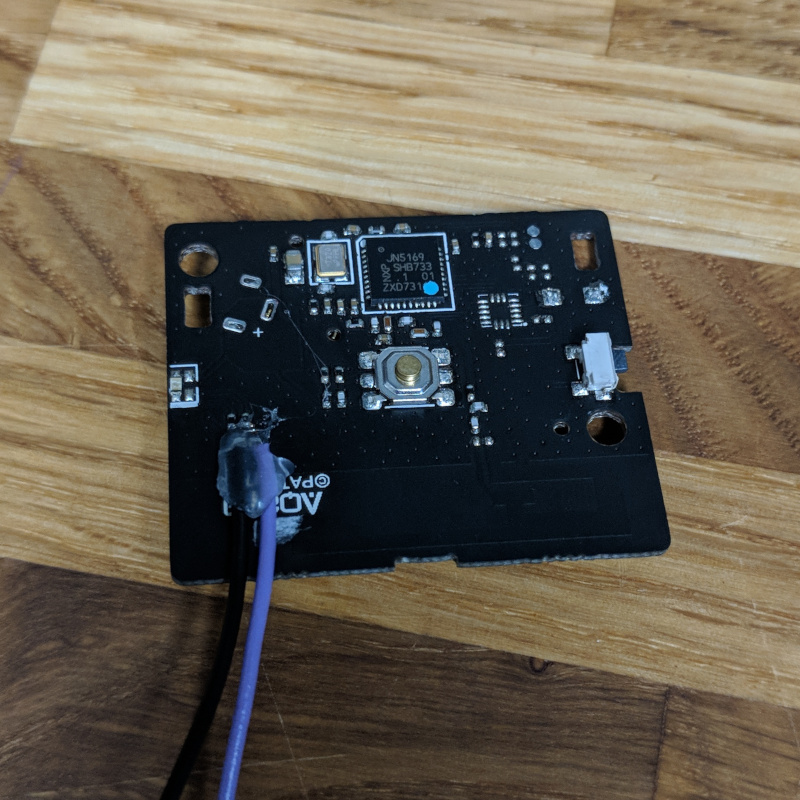
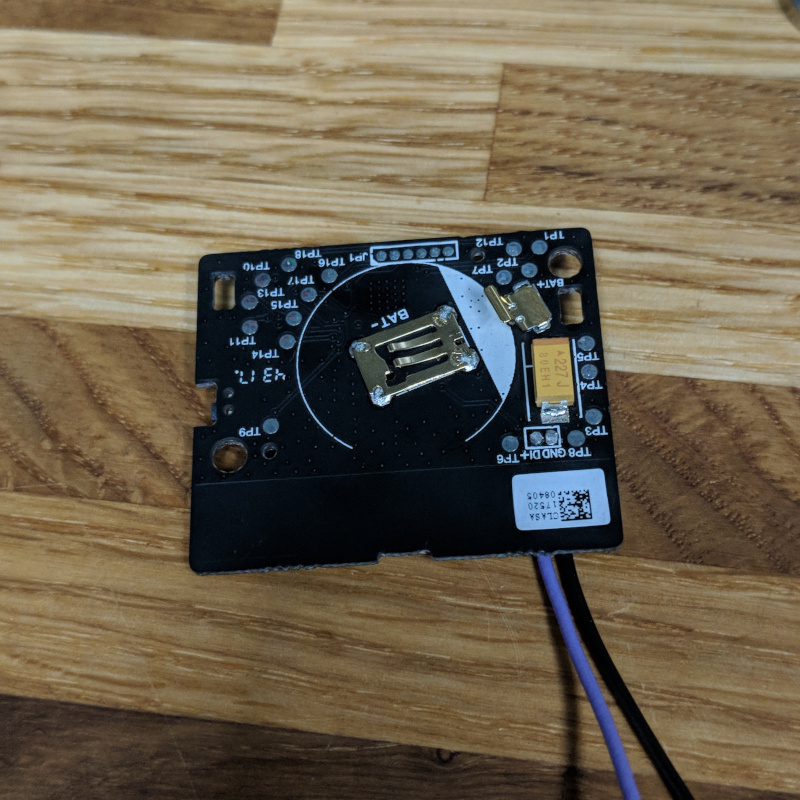
I soldered a couple of wires to the board, and added some hotglue to provide a minimum of strain relief. As an aside, look at all those lovely labelled test points on the back of the board, this could make a fairly nice development board for the NXP zigbee microcontroller.
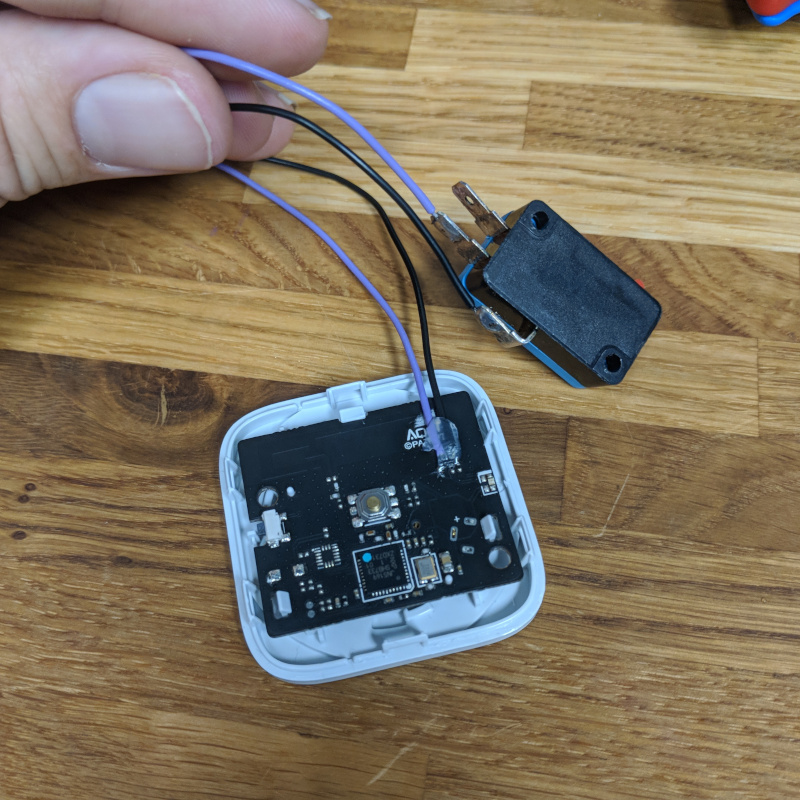
I wired in a microswitch to the other end of my cables, and pressing the microswitch triggers the button, yay!
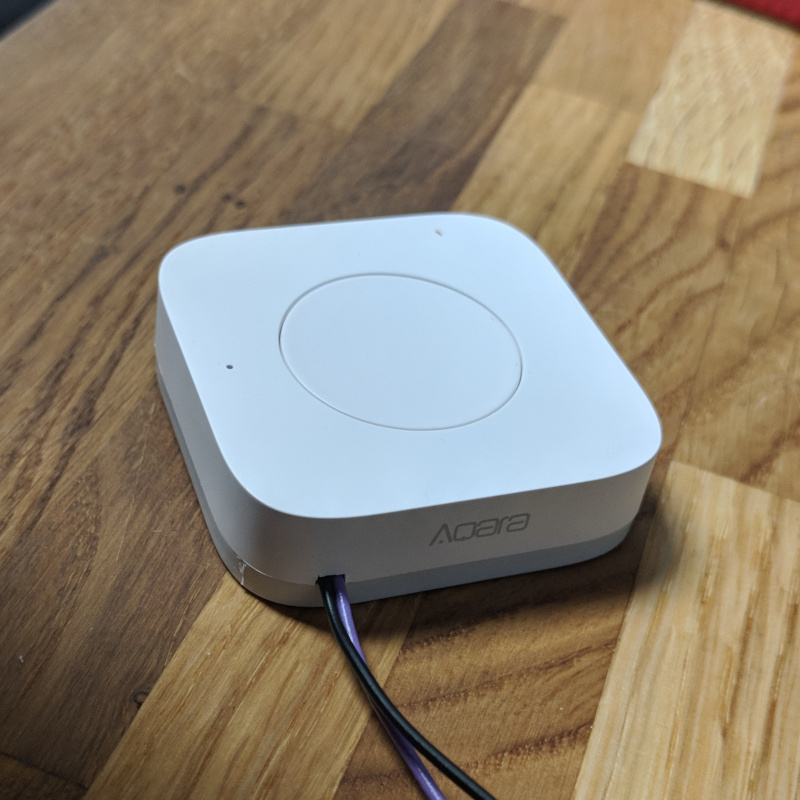
A small amount of poking with a scalpel let me remove enough plastic from the corner of the case to feed the wire through and assemble the Aqara button.
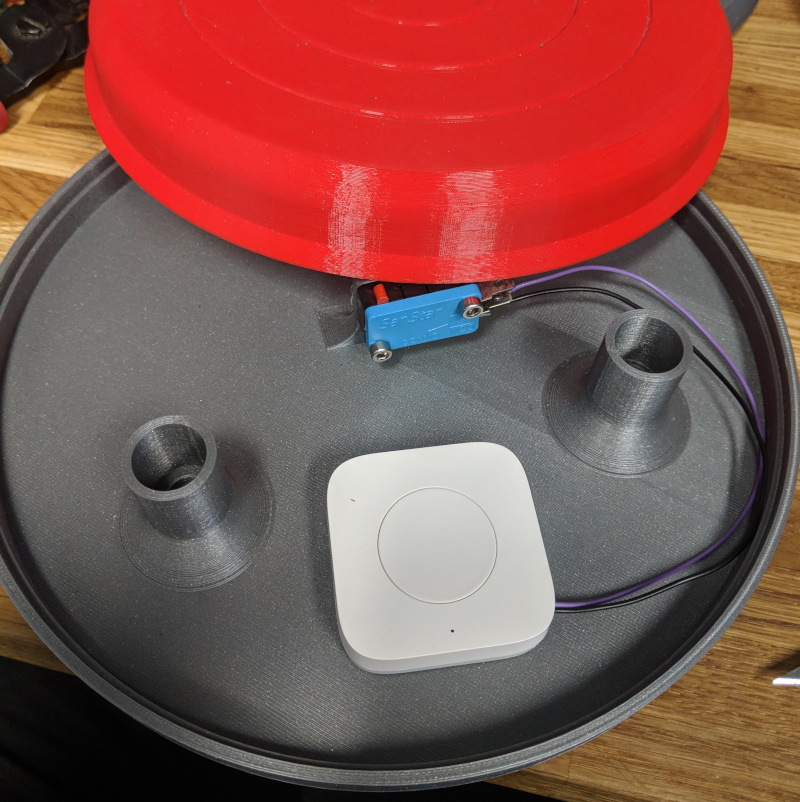
Assemble into the button, and a little bit of hacking to make an automation in homeassistant, and we have a light switch for the 3d printer light!