45 Minute Project - £4.10 XBMC Remote Receiver

Posted on 2014-03-01 in makes

I'm a big fan of XBMC, and have an Ouya running XBMC set up in my lounge, streaming from my NAS. I normally use XBMC remote on my phone for controlling it, but this gets annoying when the phone is on charge, or I'm using it for something else.

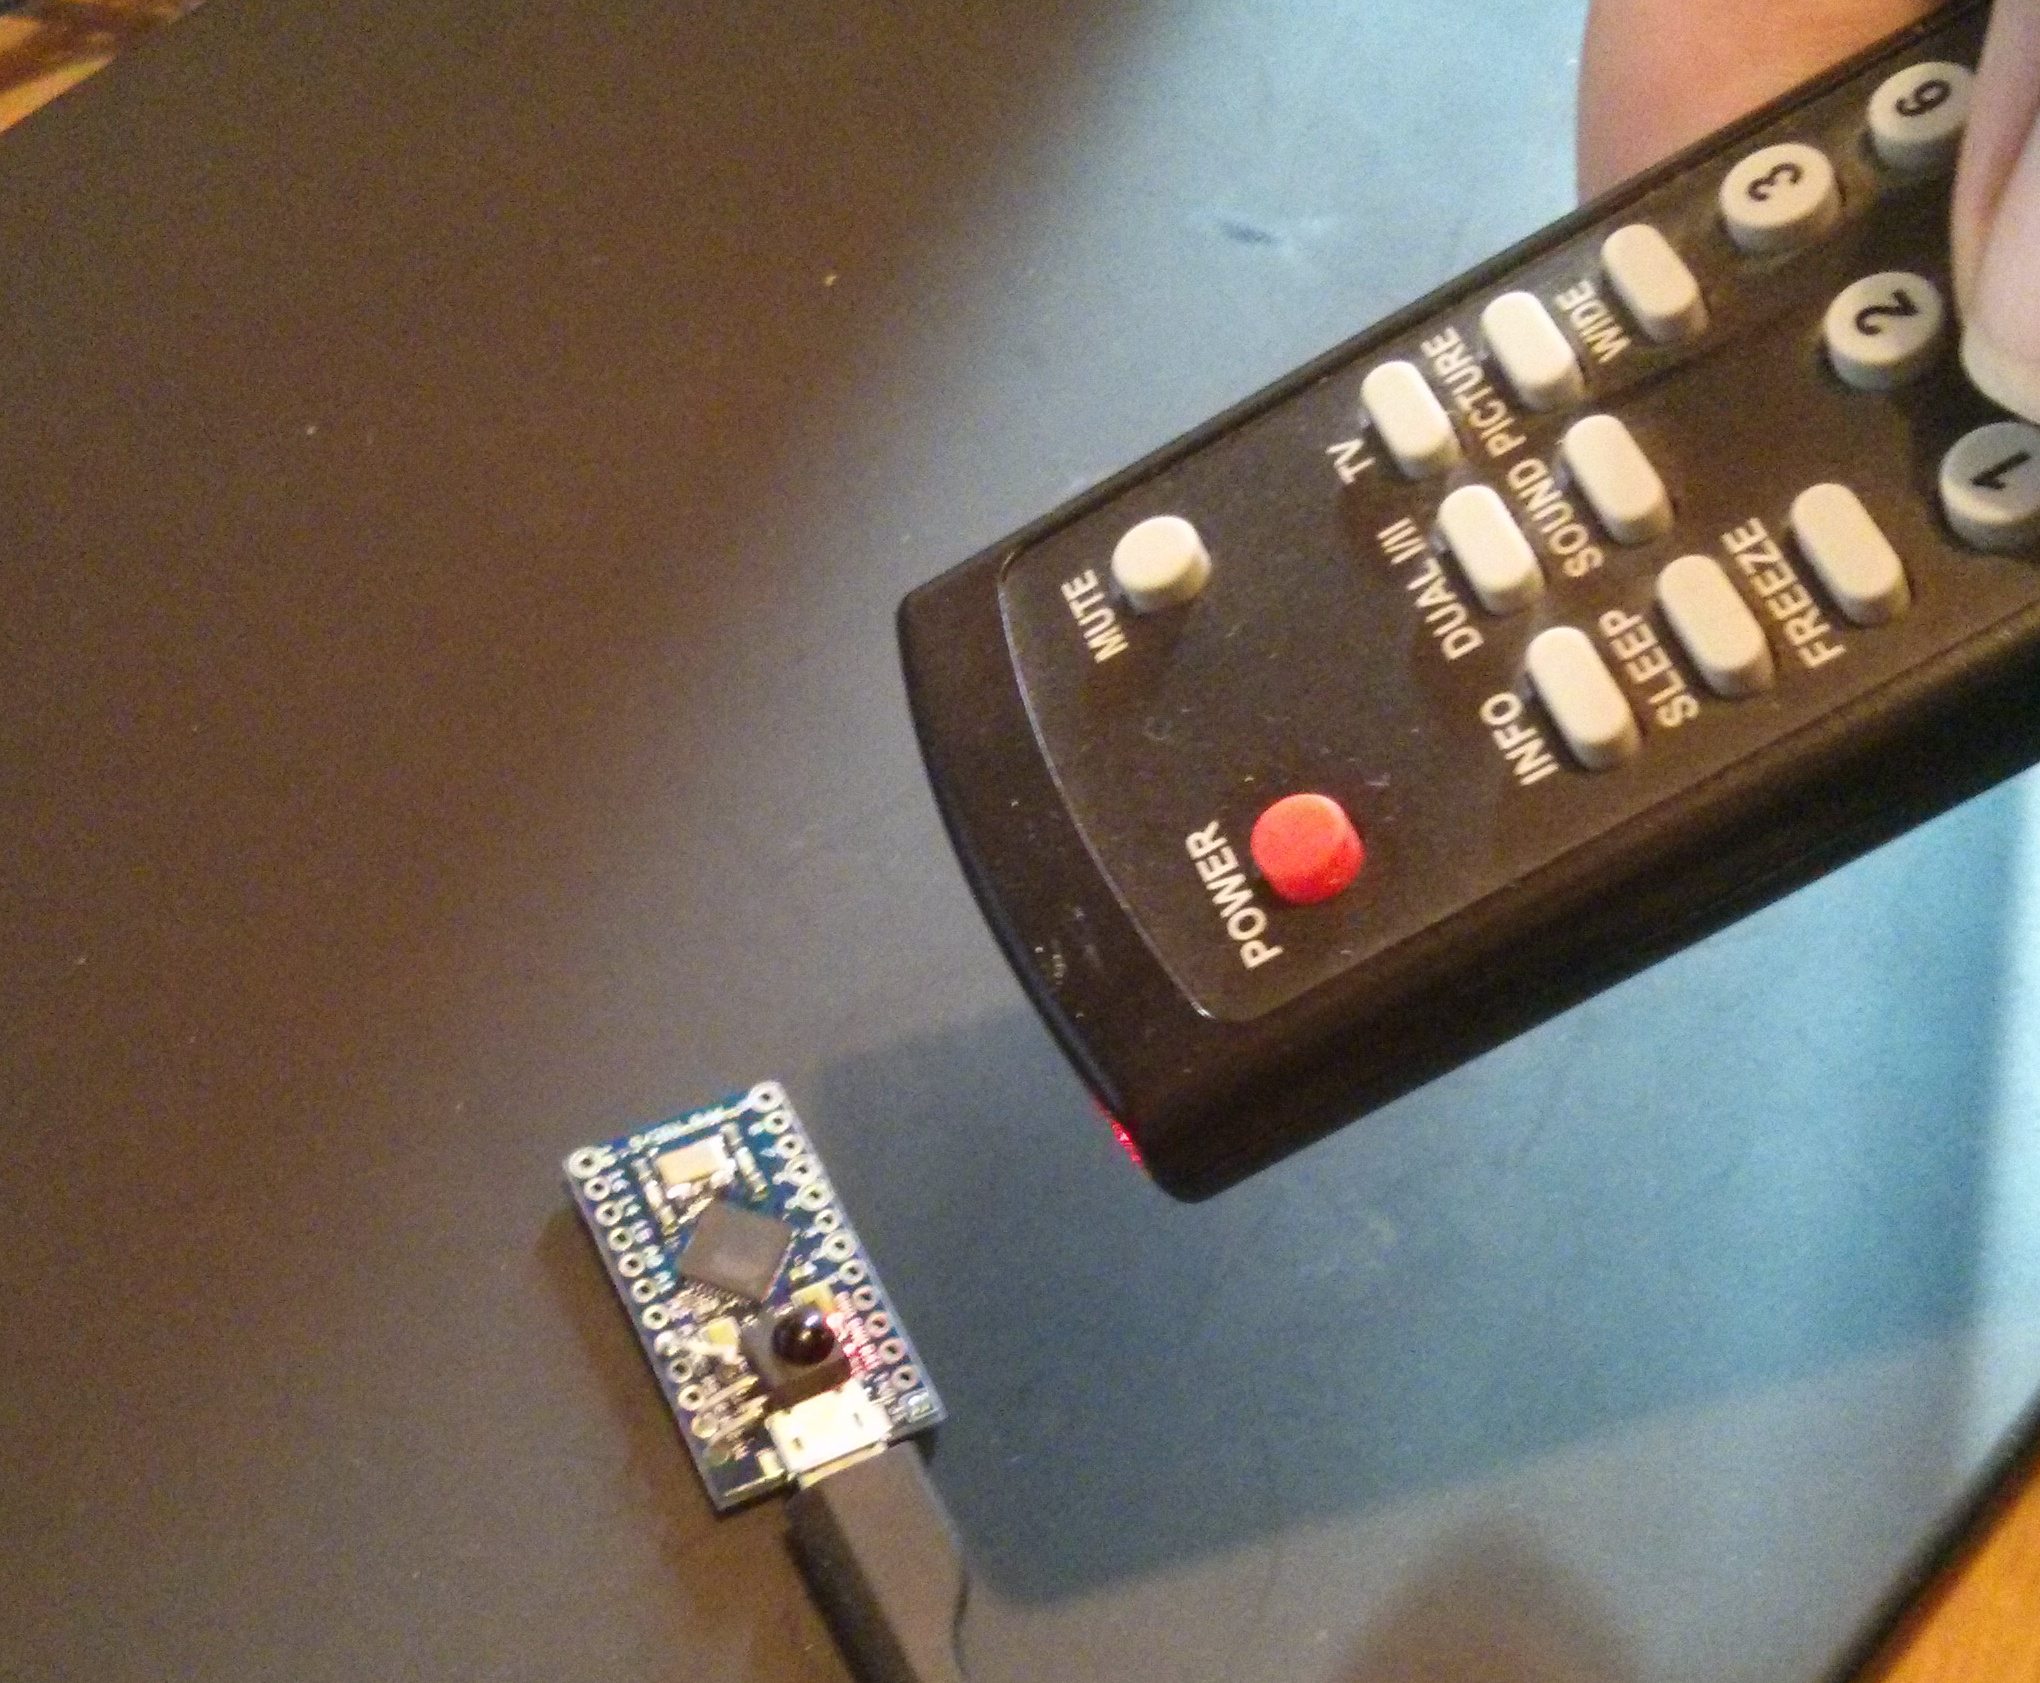
I noticed that the majority of my TV remote is completely unused when the TV is in HDMI mode, and had a bit of a lightbulb moment!

Remote 
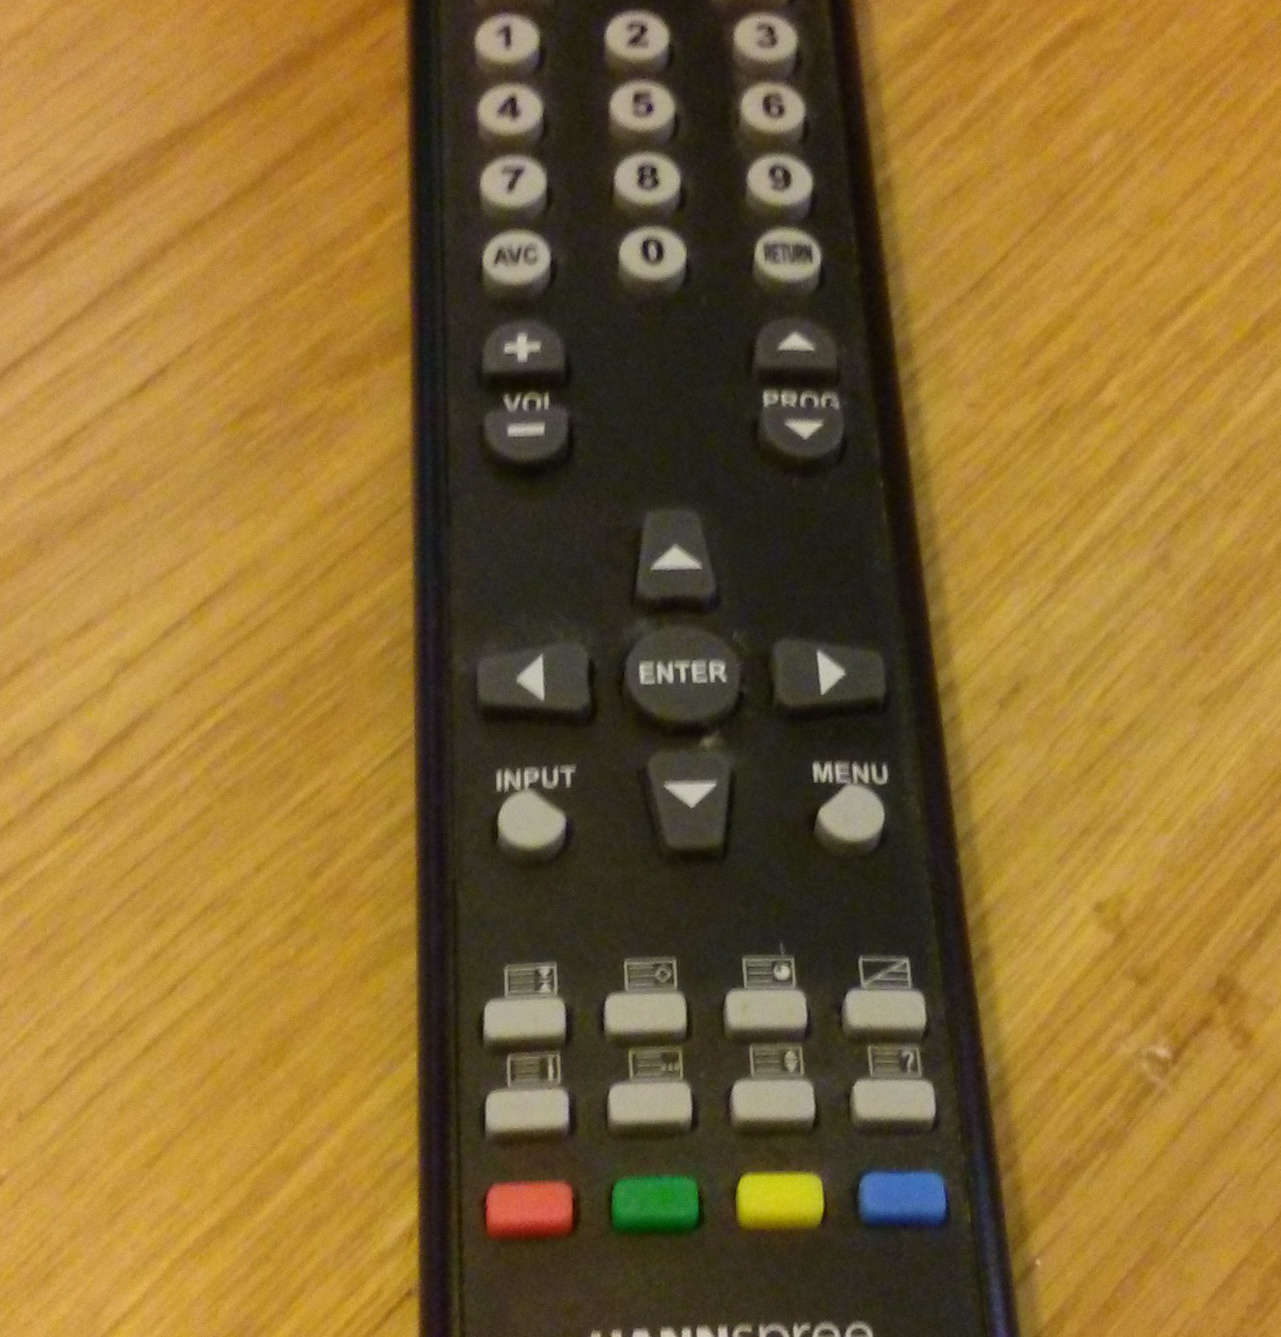
Almost none of these buttons are used!

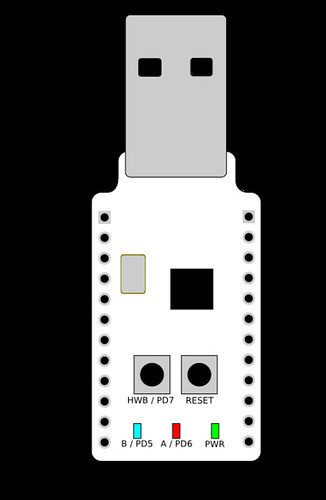
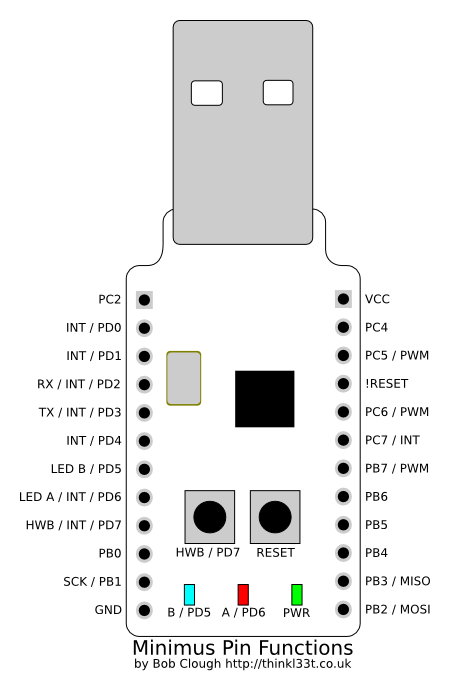
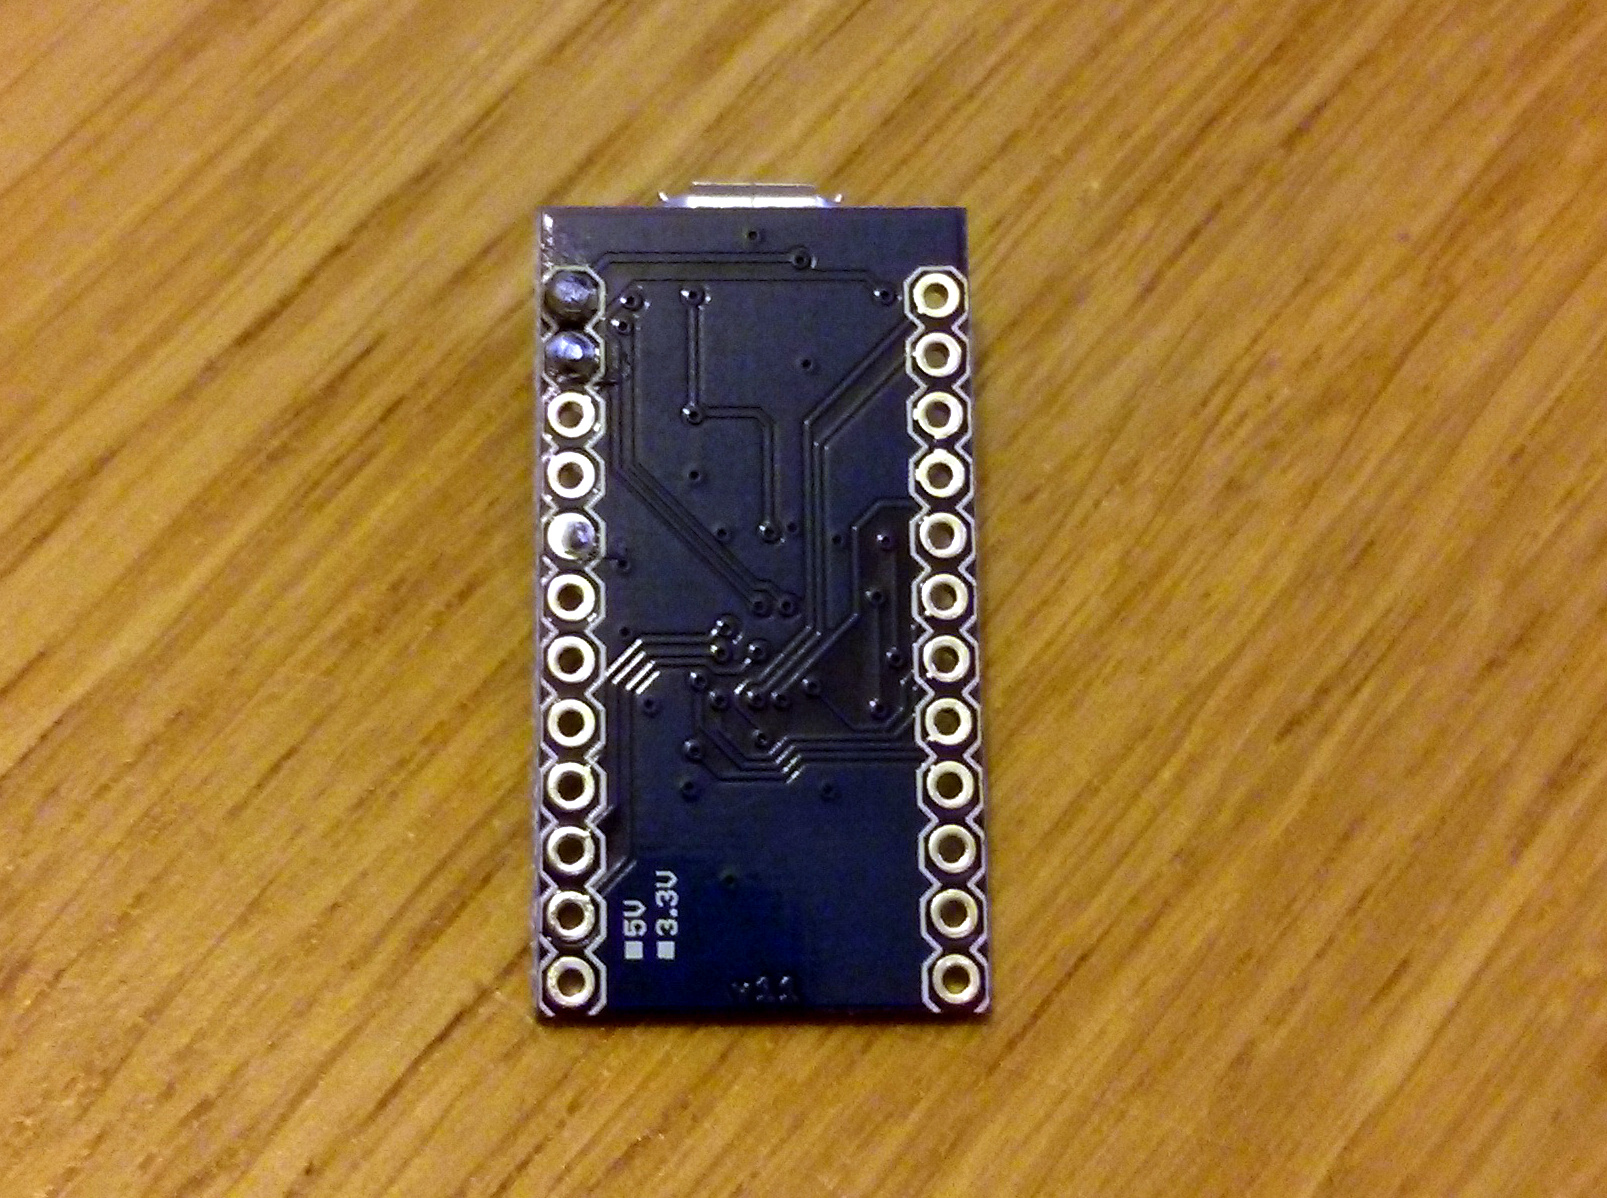
I already had an Arduino Pro Micro (£3) lying about i'd bought for testing out as an upgrade path for the minimus based projects i've been playing with.  It is leonardo compatible, small, cheap and pretty easily available.  I added an IR Receiver (£1.10) to the weekly Hackspace Farnell order to complete the parts list.

The pinout of the IR receiver makes it very easy to connect to the pro micro, using the RAW (VUSB), GND, and A3 pins.  I just bent the OUT pin (pin 1) on the receiver to the left a bit as follows:

Front Back   
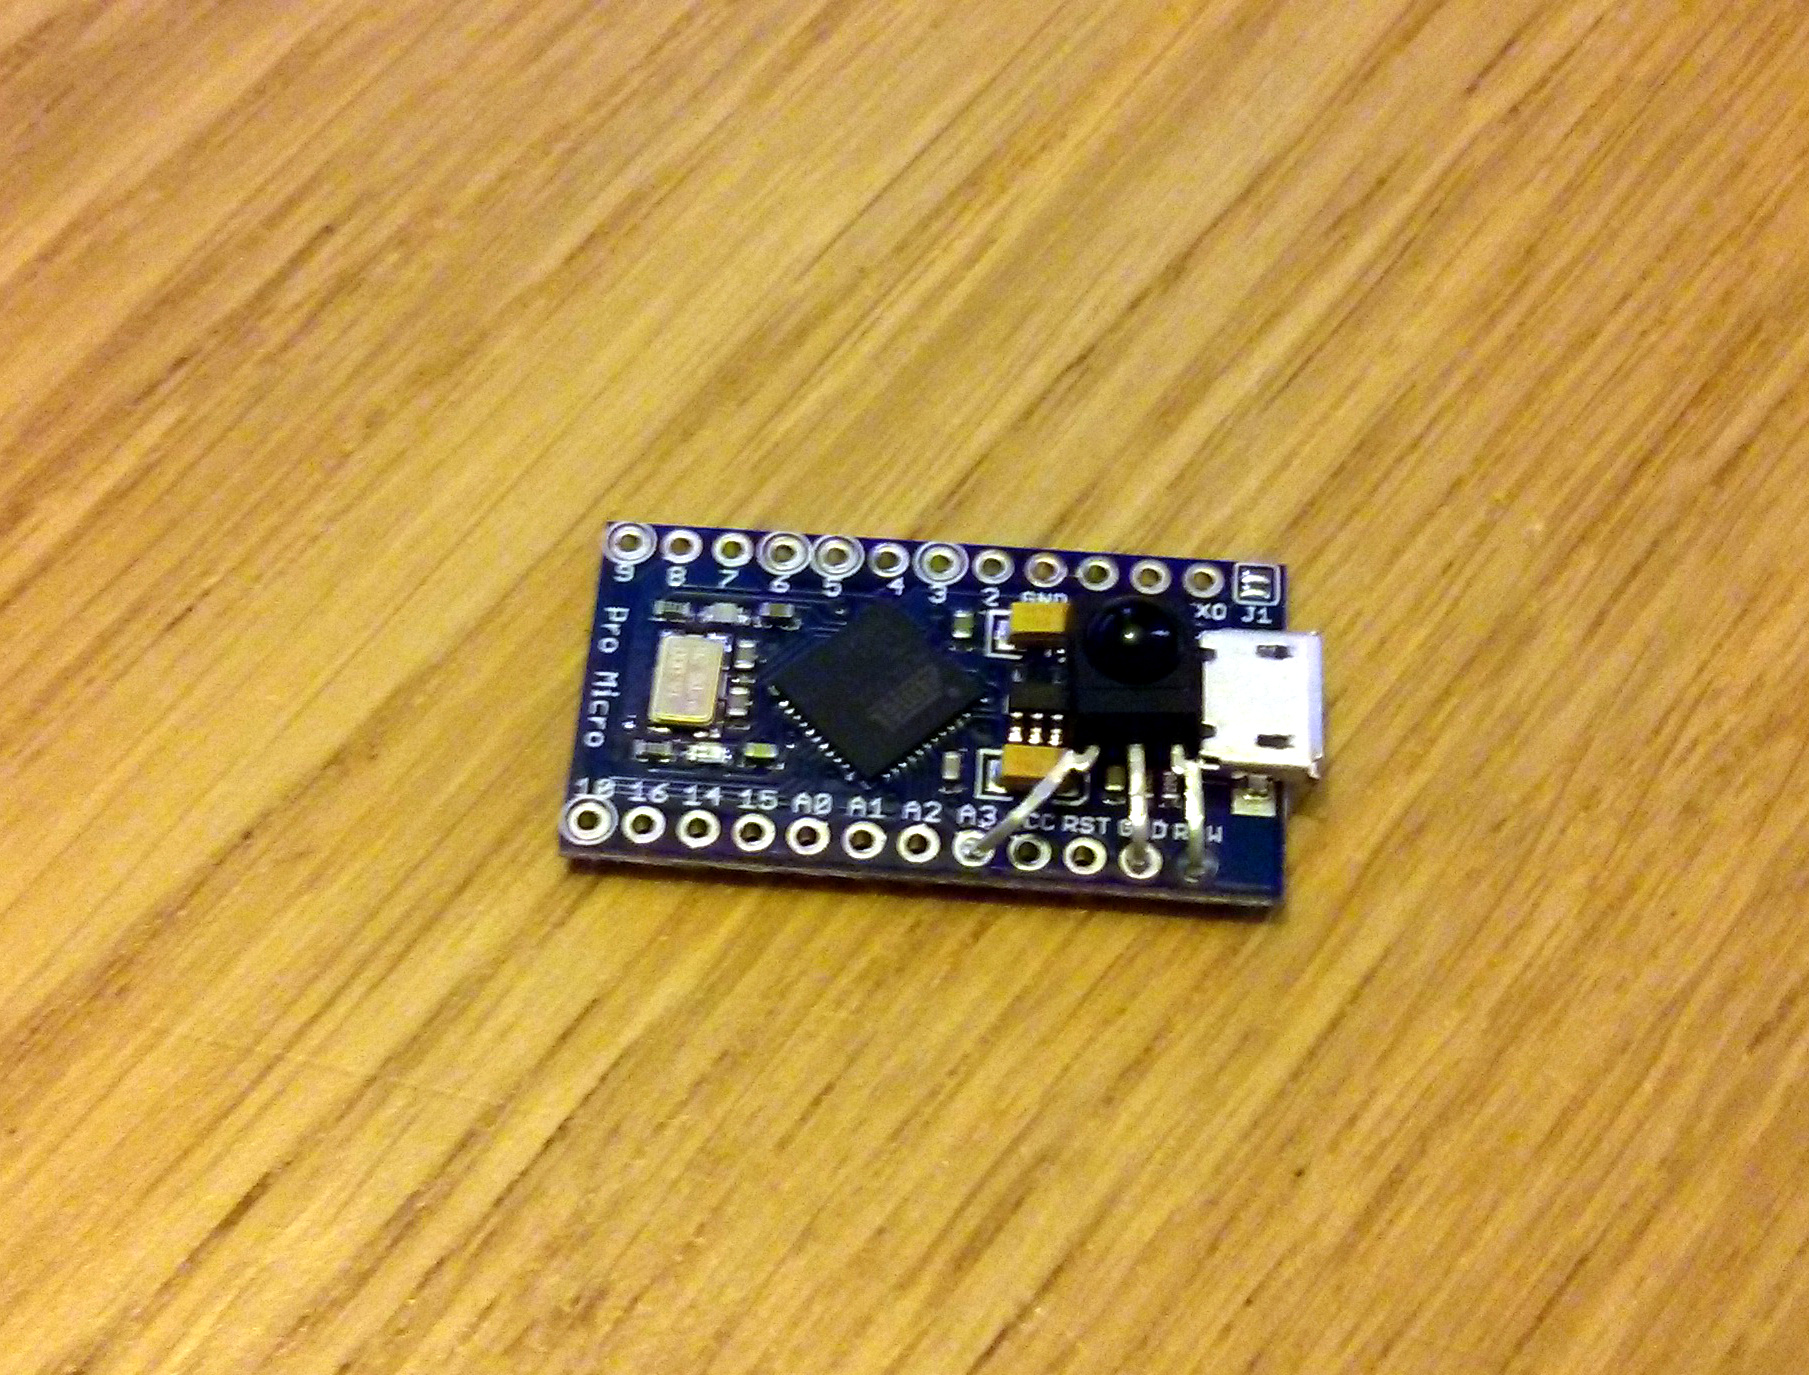
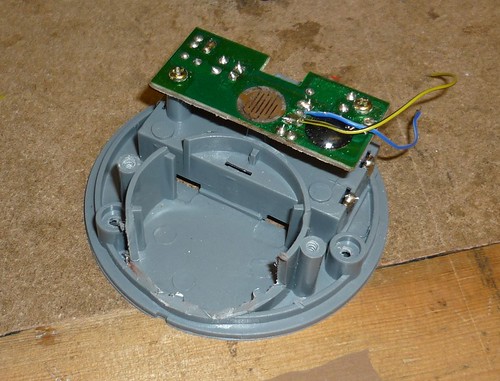
The body of the receiver fits perfectly behind the USB plug, flat against the voltage regulator.  I 
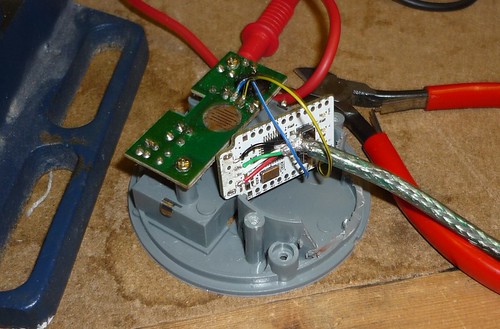
used the IRremote arduino library to grab data from the remote using the IRrecvDemo sketch and mushed some buttons:

1
8B452ADFFFFFFFFFFFFFFFF8B410EFFFFFFFFFFFFFFFFFFFFFFFFF8B4D22DFFFFFFFF8B4926DFFFFFFFFFFFFFFFF

My remote uses 0xFFFFFFFF as a 'key repeat' code, about every 200ms when the button is held down. I found that in practice I had to ignore the first of these, as it was repeating way too fast and doing double presses.

I tweaked the IRrecvDemo sample code, added in a bit of keyboard and came up with some working code:

 1
 2
 3
 4
 5
 6
 7
 8
 9
10
11
12
13
14
15
16
17
18
19
20
21
22
23
24
25
26
27
28
29
30
31
32
33
34
35
36
37
38
39
40
41
42
43
44
45
46
47
48
49
50
51
52
53
54
55
56
57
58
59
60
61
62
63
64
65
66
67
68
#include IRrecv
int RECV_PIN = A3;

IRrecv irrecv(RECV_PIN);
decode_results results;

int key;
int count;

void setup()
{
  irrecv.enableIRIn(); // Start the receiver
}

void loop() {
  if (irrecv.decode(&results)) {
    switch (results.value)
    {
      case 0x8B452AD: // up
        key = KEY_UP_ARROW;
        count = 0;
        break;
      case 0x8B410EF: // right
        key = KEY_RIGHT_ARROW;
        count = 0;
        break;
      case 0x8B4D22D: // down
        key = KEY_DOWN_ARROW;
        count = 0;
        break;
      case 0x8B4D02F: // left
        key = KEY_LEFT_ARROW;
        count = 0;
        break;
      case 0x8B4926D: // enter
        key = KEY_RETURN;
        count = 0;
        break;
      case 0x8B412ED: // red
        key = KEY_BACKSPACE;
        count = 0;
        break;
      case 0x8B4B24D: // green
        key = ' ';
        count = 0;
        break;
      case 0x8B44AB5: // yellow
        key = KEY_ESC;
        count = 0;
        break;
      case 0x8B450AF: // blue
        key = 's';
        count = 0;
        break;
      case 0xFFFFFFFF:
        count++;
        break;
      default:
        key = -1;
        break;
    }

    if ((key != -1) && (count!=1)) // if count = 1, it is the first key repeat, so ignore it.
      Keyboard.write(key);

    irrecv.resume(); // Receive the next value
  }
}

Total cost £4.10, total time 45 minutes. Sorted!

Zappp


Minimus Pin Functions v1.2

Posted on 2012-09-14 in misc

Minimus Pin Layout v1.2

Got fed up of not having the interrupt identifiers on the original minimus pinout i made, so here is version 1.1 with interrupt numbers labelled!

Stay tuned for a pinout of the Minimus 32K, as UK hackspacers have just bought over 300 of them to play with!

UPDATE: I have checked the atmega32u2 datasheet, and all pins and functions are the same as the at90usb162, so the above sheet will work for both.  Yay!

UPDATE: Oops, had the LED pins switched. fixed in v1.2


The PANIC Button

Posted on 2012-02-19 in makes

Ok, bit of explanation first.  We have an iMac set up as a 'democratic jukebox' at Hackspace Manchester.  The idea being that anyone can put music on it, and it plays the entire library on shuffle during our hack sessions for a bit of background music.

The problem is, of course, some people have an... odd taste in music, so sometimes the jukebox ends up flipping between Aqua and Cannibal Corpse for ten minutes, and the horror of this was just too much!

Enter the PANIC button.

PANIC

The button uses a minimus board. The minimus is a carrier for the AT90USB162, an AVR microcontroller with onboard USB hardware, which means it can be programmed to show up as any USB device.  Before getting the button I modified one of the pieces of LUFA demo software, a media keyboard, and stripped it down to just read the one button on the minimus.  When the button is pressed, it sends the keycode for next track. 

The button's housing is a joke button that played an alarm and flashed when pressed, I ripped its guts out to get to the switch.  After finding the switch contacts on the original board, i soldered on two wires to connecto to the AVR.

Inside

Next,  I stripped off the USB connector  from the minimus, and added a 1m USB lead directly to the pads, to make it fit in the old speaker housing section of the button.  I connected the leads from the button to PD7 and GND on the minimus, the same as the onboard button.  This has the handy side effect that if the button is pressed while being plugged in, it boots into DFU mode, allowing me to upgrade the firmware easily.

Minimus

I cut a slot in the casing for the wire to escape, and added a couple of cable ties for strain relief.

Press Button, Song Skips, Panic averted!

Finished


Minimus Pin Functions

Posted on 2012-02-13 in misc

Minimus Pin Functions

Whipped up this quick cheat sheet with all the different functions each minimus pin can perform.